
What is a spore print and why does it matter for identification?
A spore print is the powdery deposit left behind when a mushroom’s gills, pores, or teeth release spores onto a surface beneath the cap. According to the North American Mycological Association, spore color is a stable, diagnostic trait that helps narrow identification to the genus level, making it one of the most reliable tools in any mushroom hunter’s kit.
That said, a spore print is a starting point, not a finish line. It cannot confirm species or edibility on its own. Deadly Amanita species and edible Agaricus mushrooms both produce white spore prints, which is exactly why spore color must be read alongside gill attachment, ring presence, habitat, and cap features.
Key facts to keep in mind before you start:
- Prints typically develop over 4–12 hours; overnight is recommended for faint or sparse spores
- Spore color groups (white, brown, rusty, pink, black, purple-brown) sort mushrooms into broad genera, not species
- Mycological societies and field guides treat spore prints as one of several required identification steps
- Gill color does not reliably predict spore color, so always make a print rather than guessing
How to make a spore print at home
Selecting the right specimen is the first real decision. Choose a mature mushroom with a fully open cap; immature buttons rarely drop enough spores to produce a readable print.
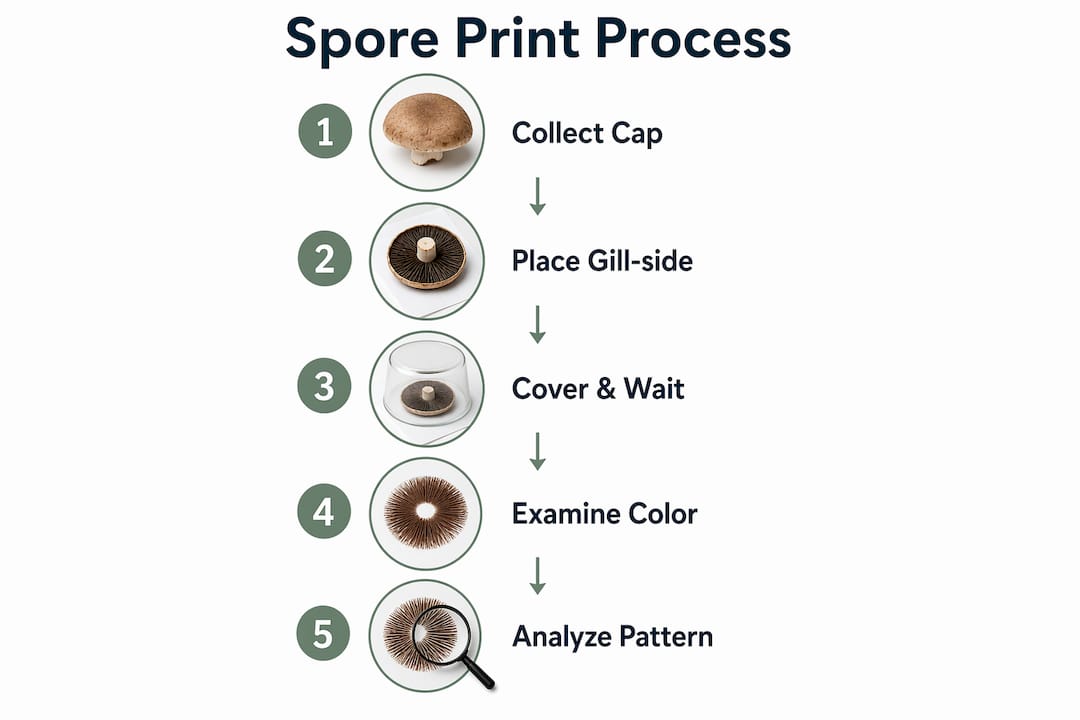
Here is the full process:
- Cut the stem flush with the cap, leaving the gill or pore surface intact and undamaged
- Place the cap gill-side down on paper that is half white and half black; divided paper ensures visibility regardless of whether spores are light or dark
- Cover the cap with a glass bowl or jar to block airflow and hold humidity around the specimen
- Wait several hours, or leave it overnight for the clearest, most complete deposit
- Lift the cap carefully straight up to avoid smearing the print
- For microscopy work, use a 3.5 cm glass slide placed at the center of the paper; for cultivation or storage, aluminum foil is preferred for its relative sterility
Pro Tip: If the cap feels dry before you cover it, place a single drop of water on top to encourage spore release. Avoid soaking it — excess moisture causes condensation that smears the print and makes colors harder to read.
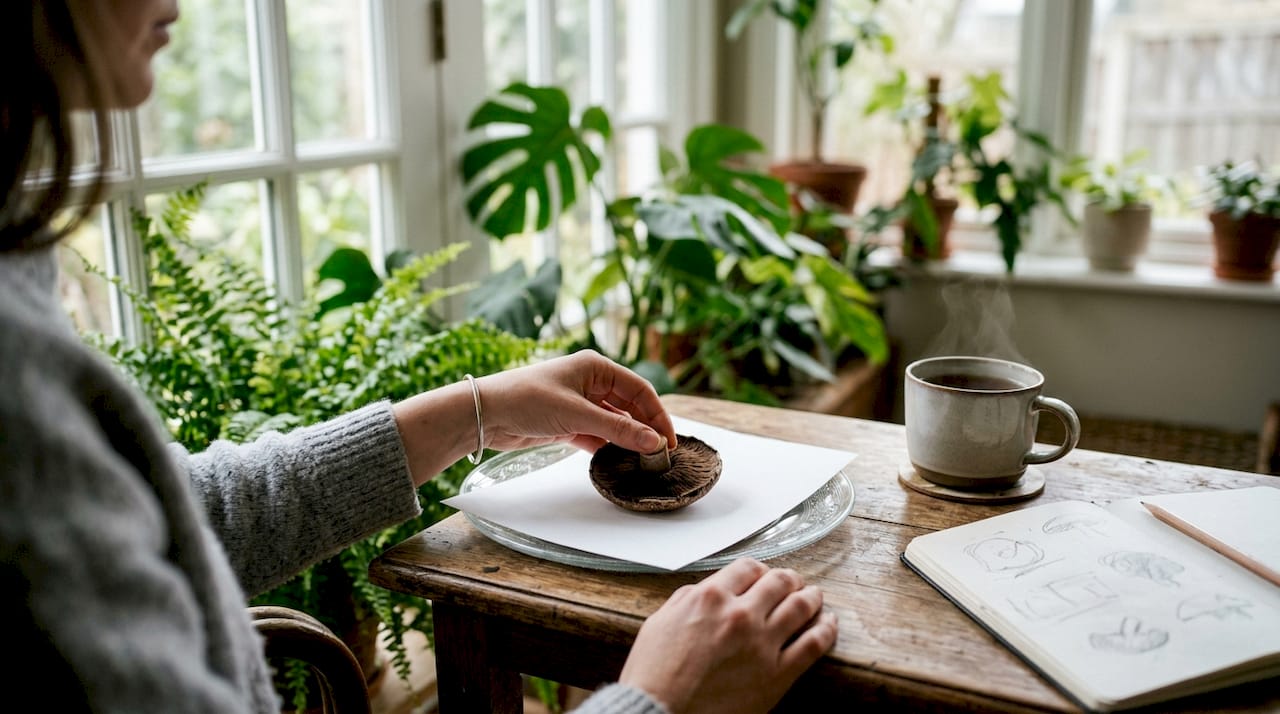
How to read spore print colors and patterns
The main color groups and what they suggest
Spore color sorts mushrooms into broad genera, and major distinctions like white, brown, or pink are the most useful starting points for beginners. Chasing subtle shades like “cream vs. pale buff” before you have field experience tends to create more confusion than clarity.
Common color groups and their typical genera:
- White: Amanita, Agaricus (some), Tricholoma, Russula (some)
- Pink to salmon: Pluteus, Entoloma, Clitopilus
- Rusty brown to cinnamon: Cortinarius, Galerina, Pholiota
- Purple-brown to chocolate: Agaricus, Stropharia, Psilocybe
- Black: Coprinus, Panaeolus
- Green: Chlorophyllum molybdites (the false parasol, toxic)
Why color alone is never enough
The Amanita vs. Agaricus example is the one that gets people into trouble. Both genera can produce white prints, yet some Amanita species are among the most lethal fungi in North America. Rusty-brown prints from Galerina look nearly identical to those of edible species in the same color range. Spore color narrows the field; it does not close it.
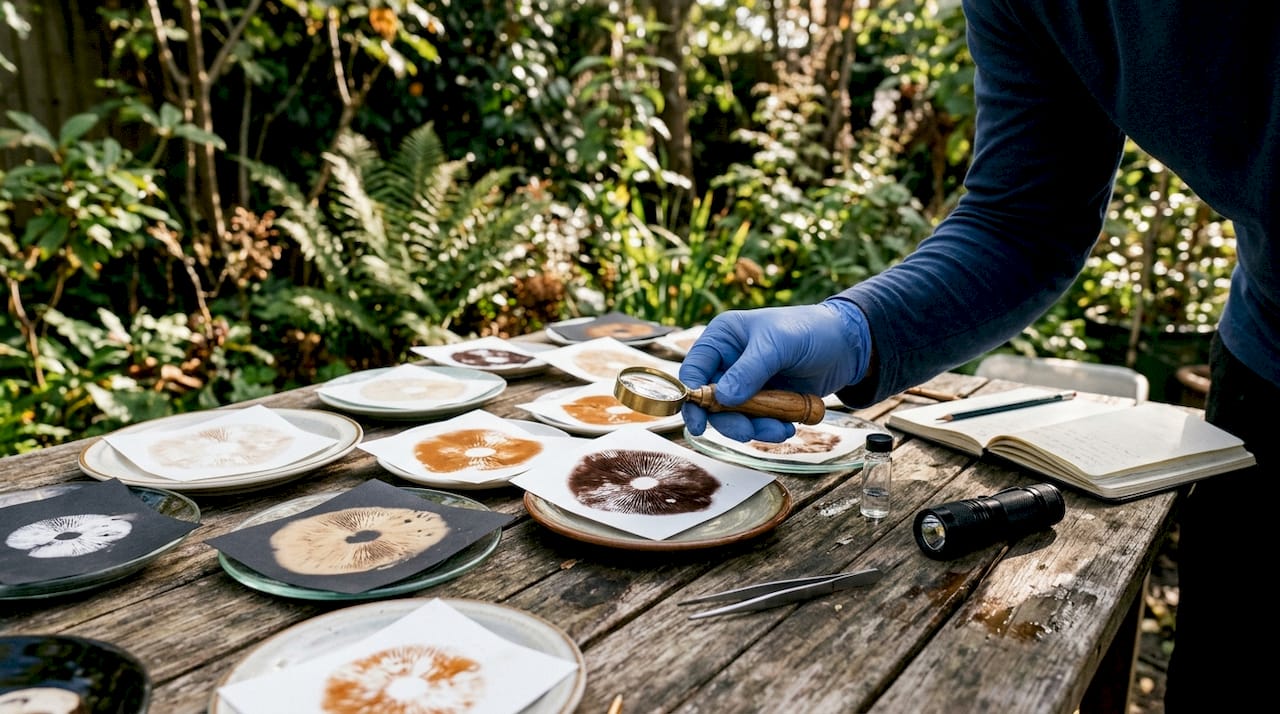
Texture and deposit pattern add another layer of information. A thin, uniform deposit reads differently than a thick, uneven one. In Lactarius species, thin deposits appear white while thick deposits shift toward cream or yellow, a variation that has tripped up even experienced foragers when field guides fail to specify which thickness the recorded color references.
Always examine your print under natural daylight. Artificial lighting shifts shades like cream, tan, and rusty brown enough to push an identification in the wrong direction.
For a broader look at how spore prints fit into distinguishing edible from other mushroom types, the breakdown of edible vs. magic mushrooms covers key differences worth reading alongside this guide.
Advanced tips for better prints and safer identification
Environmental factors that affect spore release
Not every mushroom will cooperate. Specimens that are too young, too old, or collected at high elevation and then brought to lower ground often fail to drop spores at all. Freshness matters more than most beginners expect.
Practical fixes and best practices:
- Dry caps: add one drop of water before covering, as noted in section 2, to stimulate release without waterlogging the specimen
- Condensation control: place a small coin under the edge of the covering glass to allow a tiny amount of air exchange; this prevents smearing from trapped moisture
- Lighting: always move the finished print to a window or outdoors before reading the color; indoor bulbs reliably distort the result
- Thin prints: if the deposit looks sparse, let it sit another few hours before concluding the color is white; a thin print on a species that normally prints cream can mislead you
Photograph first, print second
Before you cut anything, photograph the whole mushroom intact. Features like the volva (the cup at the stem base), partial veils, and ring position disappear or distort the moment you handle the specimen. A clear photo of the cap, gill attachment, stem base, and surrounding habitat is often more diagnostic than the print itself, and the two together are far stronger than either alone.
For readers interested in quality psilocybin mushrooms specifically, understanding signs of quality goes hand in hand with knowing how to read a spore print correctly.
Pro Tip: Keep a field notebook with each print. Record the date, location, elevation, habitat type, and cap features alongside the print itself. Over time, this log becomes a personal reference that no field guide can replicate.
A spore print produced over 4–12 hours, read under daylight, and cross-referenced with gill attachment, ring presence, and habitat gives you a genuinely useful identification clue. Treat it as one piece of a larger picture, and it will serve you well.
Theelevatedremedies carries quality mushroom products you can trust
If your interest in mushrooms goes beyond field identification and into the world of psilocybin for wellness or microdosing, Theelevatedremedies is Ann Arbor’s go-to source. Unlike foraging, where identification is on you, every product at Theelevatedremedies is sourced for quality and consistency before it reaches the shelf.
Theelevatedremedies stocks dried magic mushrooms, microdosing capsules, and mushroom chocolates at 1123 Broadway St in Ann Arbor, Michigan. The team there knows the difference between a well-sourced product and a questionable one, which matters whether you’re a first-timer or a seasoned explorer. For a deeper look at what Theelevatedremedies carries and the education behind it, the Amanita muscaria page is a solid starting point. You can also read up on Michigan mushroom wellness laws and safe use before you visit.
Key Takeaways
Spore prints are a stable, genus-level diagnostic tool that work best when combined with gill attachment, habitat, and intact-specimen photography.
| Point | Details |
|---|---|
| Spore prints narrow genus, not species | Color groups like white, brown, or pink sort mushrooms broadly but cannot confirm edibility alone. |
| Optimal print time is 4–12 hours | Overnight is recommended for faint spores; fresh, mature caps produce the clearest deposits. |
| Lighting changes everything | Always read prints under natural daylight; artificial bulbs shift cream, tan, and rusty shades noticeably. |
| Photograph before you cut | Features like volvas and veils vanish after handling; intact photos preserve critical ID clues. |
| Theelevatedremedies | Ann Arbor’s trusted source for quality-sourced psilocybin mushroom products, capsules, and chocolates. |